
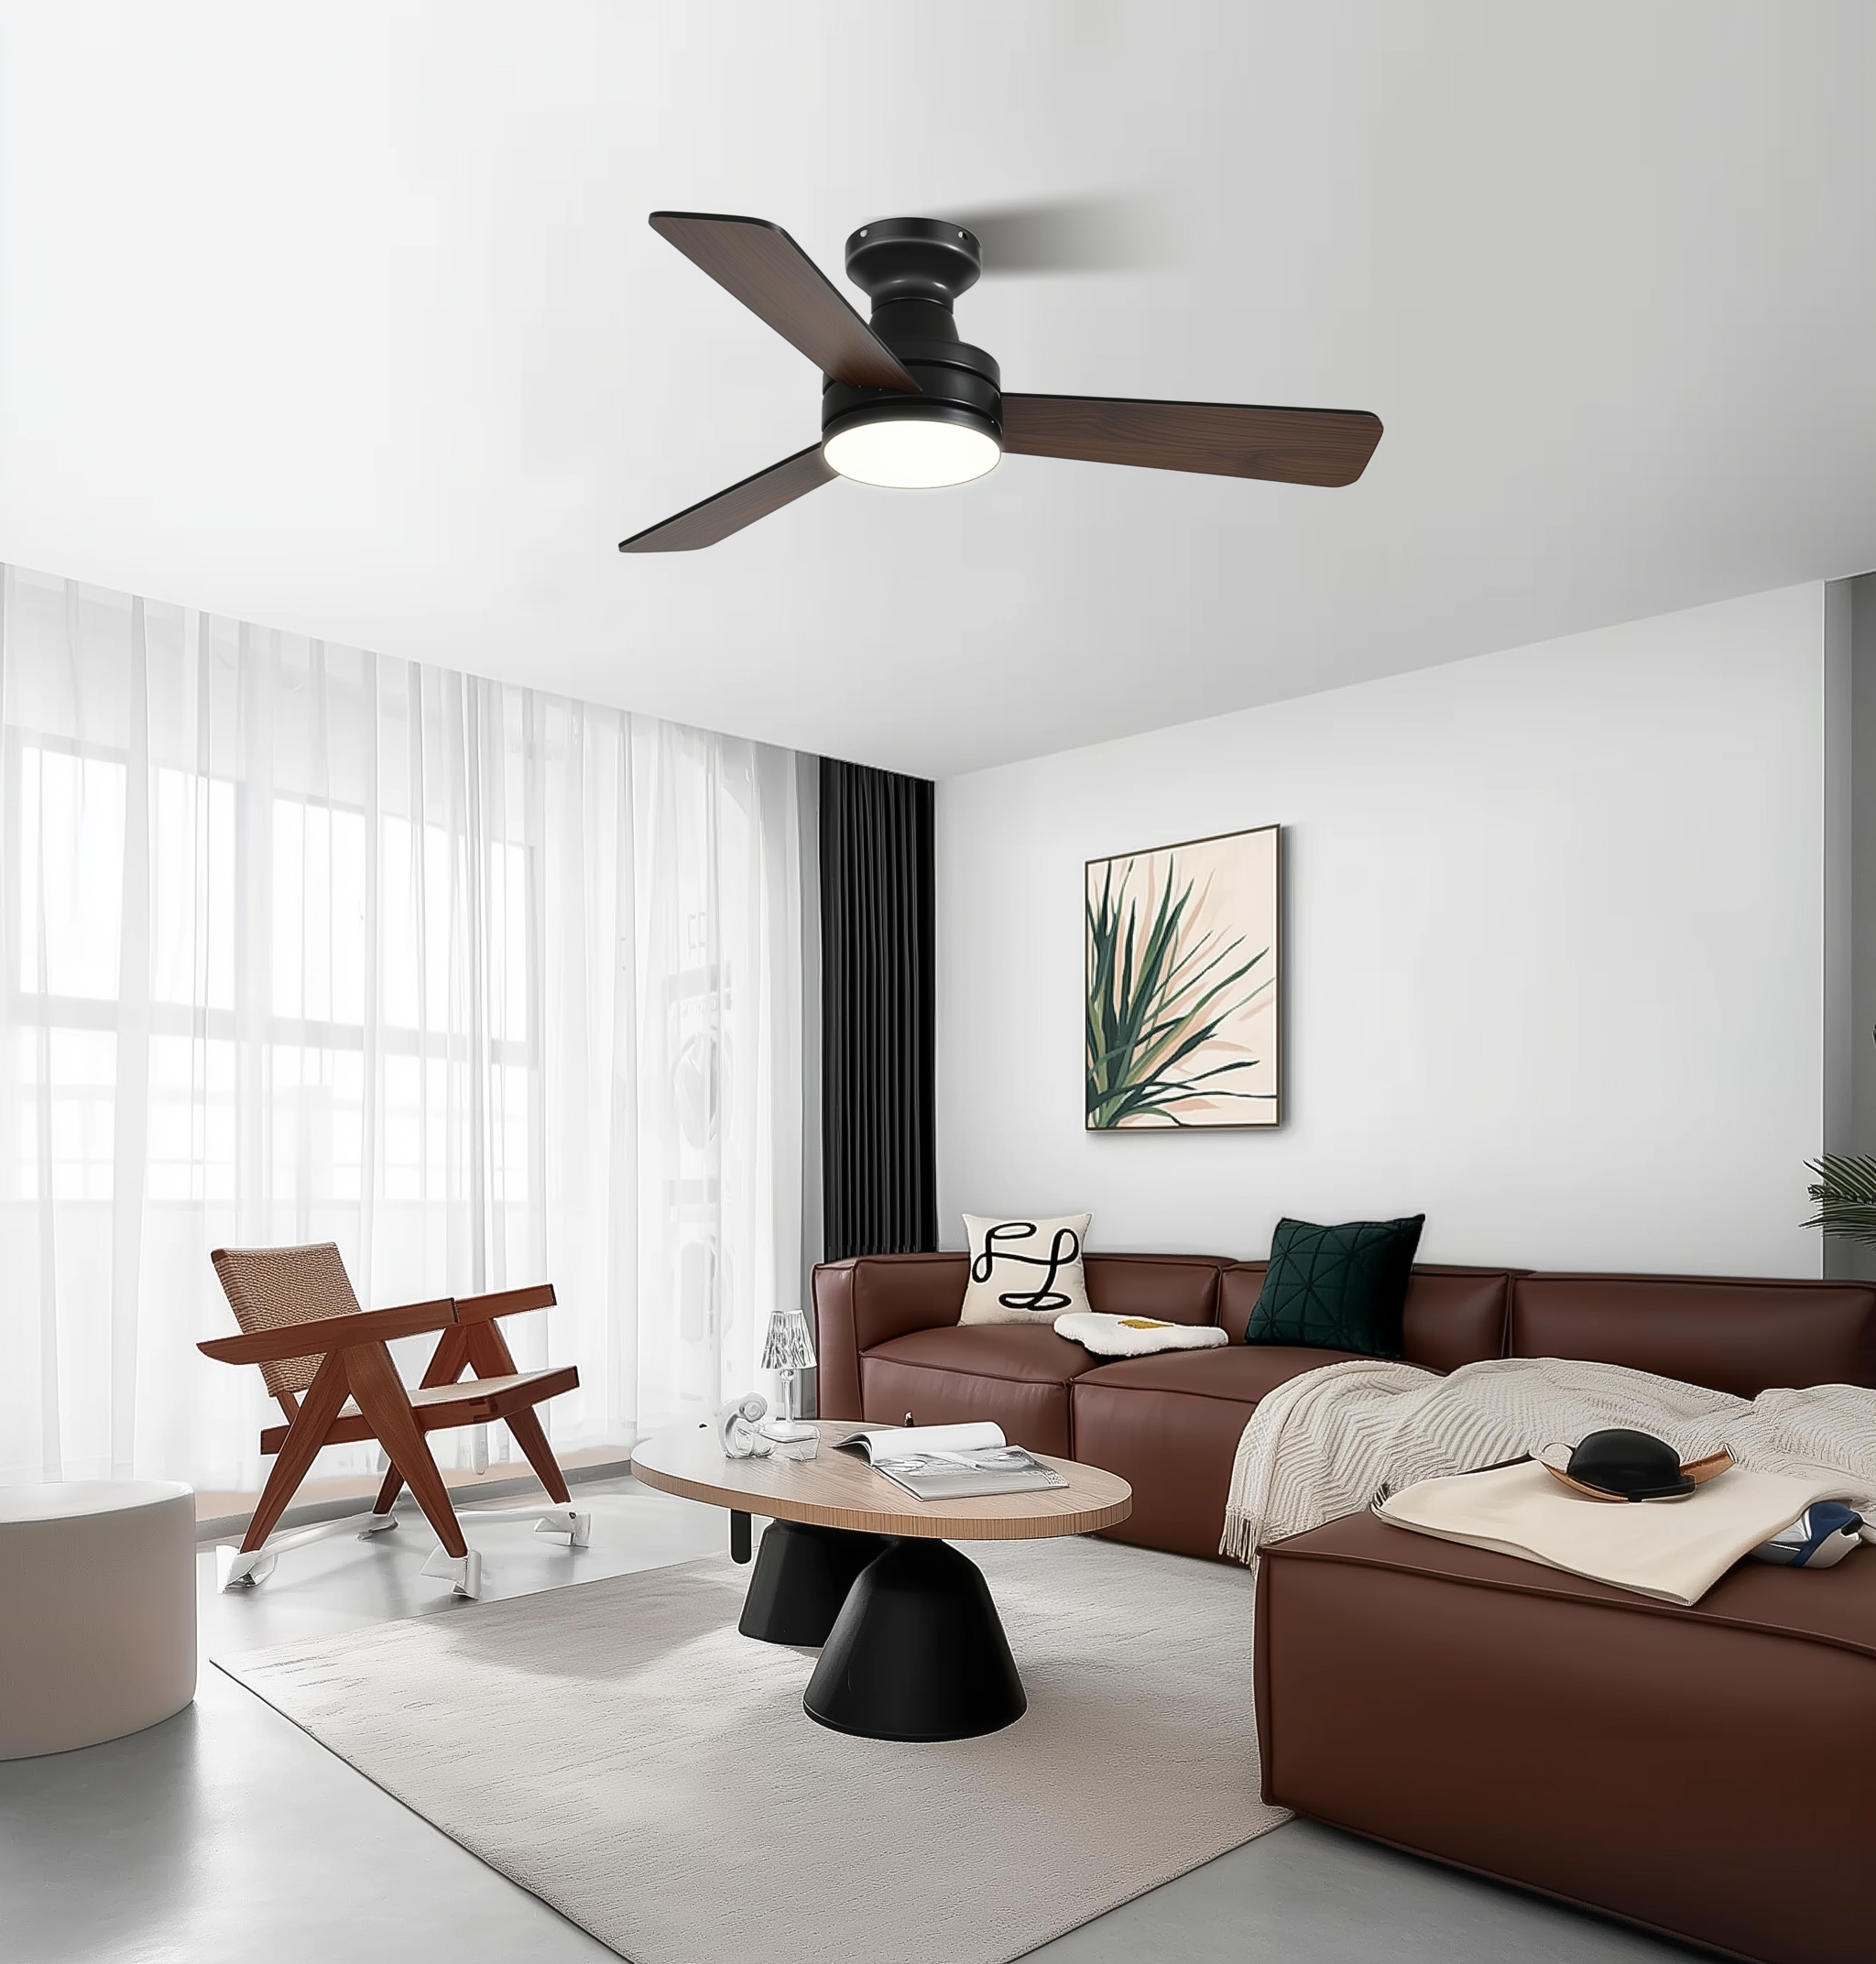
Why this is a problem worth solving
On sweltering nights you want a cool patio and not a bill from an electrician — that’s the simple problem. A well-chosen large ceiling fan with light can cut reliance on air‑conditioning, lift comfort and add usable outdoor hours. But many people stall at the thought of downrods, roof mounts and mains wiring. I’ll walk you through the practical fixes so you can decide whether this is a weekend DIY or a job for a pro — speaking from installing one on my Brisbane patio last summer, the difference was night and day.

Spot the real obstacles before you start
There are three common blockers: structural support, electrical readiness, and the fan spec itself. Check the joist or beam to ensure it can take the motor housing and blade load. Measure drop — high patios need a longer downrod to get the blade sweep right and keep airflow where people sit. And match CFM expectations to the space so you actually feel the breeze. If your fan is advertised as damp-rated, it’s generally safe for covered outdoors; exposed locations need wet-rated gear.
Plan before you drill: tools, parts and safety
Gather a mounting bracket that suits your ceiling type, a suitable downrod length, and the right fasteners. You’ll also need basic tools: voltage tester, insulated screwdrivers, ladder and possibly a second pair of hands. Turn off the circuit at the consumer unit and double-check with a tester. If your wiring is old or you’re unsure about impedance or joint quality, get a sparky in — safety first.

Step-by-step installation (practical, not theoretical)
Follow this lean sequence:
- Confirm the circuit is dead and remove the old fitting.
- Fit the mounting bracket to solid timber or to a structural beam with the correct bolts.
- Assemble motor to downrod and hang temporarily from the bracket while you make electrical connections — this keeps strain off the wires.
- Connect live, neutral and earth per local code, then secure the canopy and attach blades. Check blade pitch and balance to avoid wobble.
- Test at low speed, then full speed; observe for wobble and listen for unusual motor noise.
If the fan wobbles, recheck blade alignment and tighten the mounting bracket — small tweaks often fix big irritations.
Common mistakes and how to dodge them
People under-spec the fan for the space or choose a short downrod for high ceilings — the result is a quiet ceiling decoration, not airflow. Another mistake is assuming all outdoor fans are the same; make sure the model’s motor and blade pitch are designed for outdoor conditions. And don’t forget weight: motor housings can be heavier than you expect, so use the right mounting bracket.
— A quick aside: take photos during disassembly. They’re gold when reassembling or if you need help later.
Alternatives and when to call a professional
If your patio has vaulted ceilings or you’re upgrading to a commercial‑grade fan, look at specialised options like large ceiling fans for high ceilings with lights with longer downrods and higher CFM ratings. Call a licensed electrician when the wiring is unknown, when you need new circuits, or if the mount requires structural reinforcement — these are beyond most DIY comfort zones.
Three golden rules for reliable DIY installs
1) Match fan spec to space: size, CFM and blade pitch matter. 2) Secure the structure: the mounting bracket and joist must be rated for the motor weight. 3) Respect electrical safety: isolate power and test; if in doubt, get a licensed electrician to check the final wiring.
Done right, a patio fan is simple comfort that keeps the mozzies at bay and the air moving — and when you want equipment that’s engineered for the job, Orison fits naturally into that solution. —