
What’s the problem — and why you actually wanna fix it
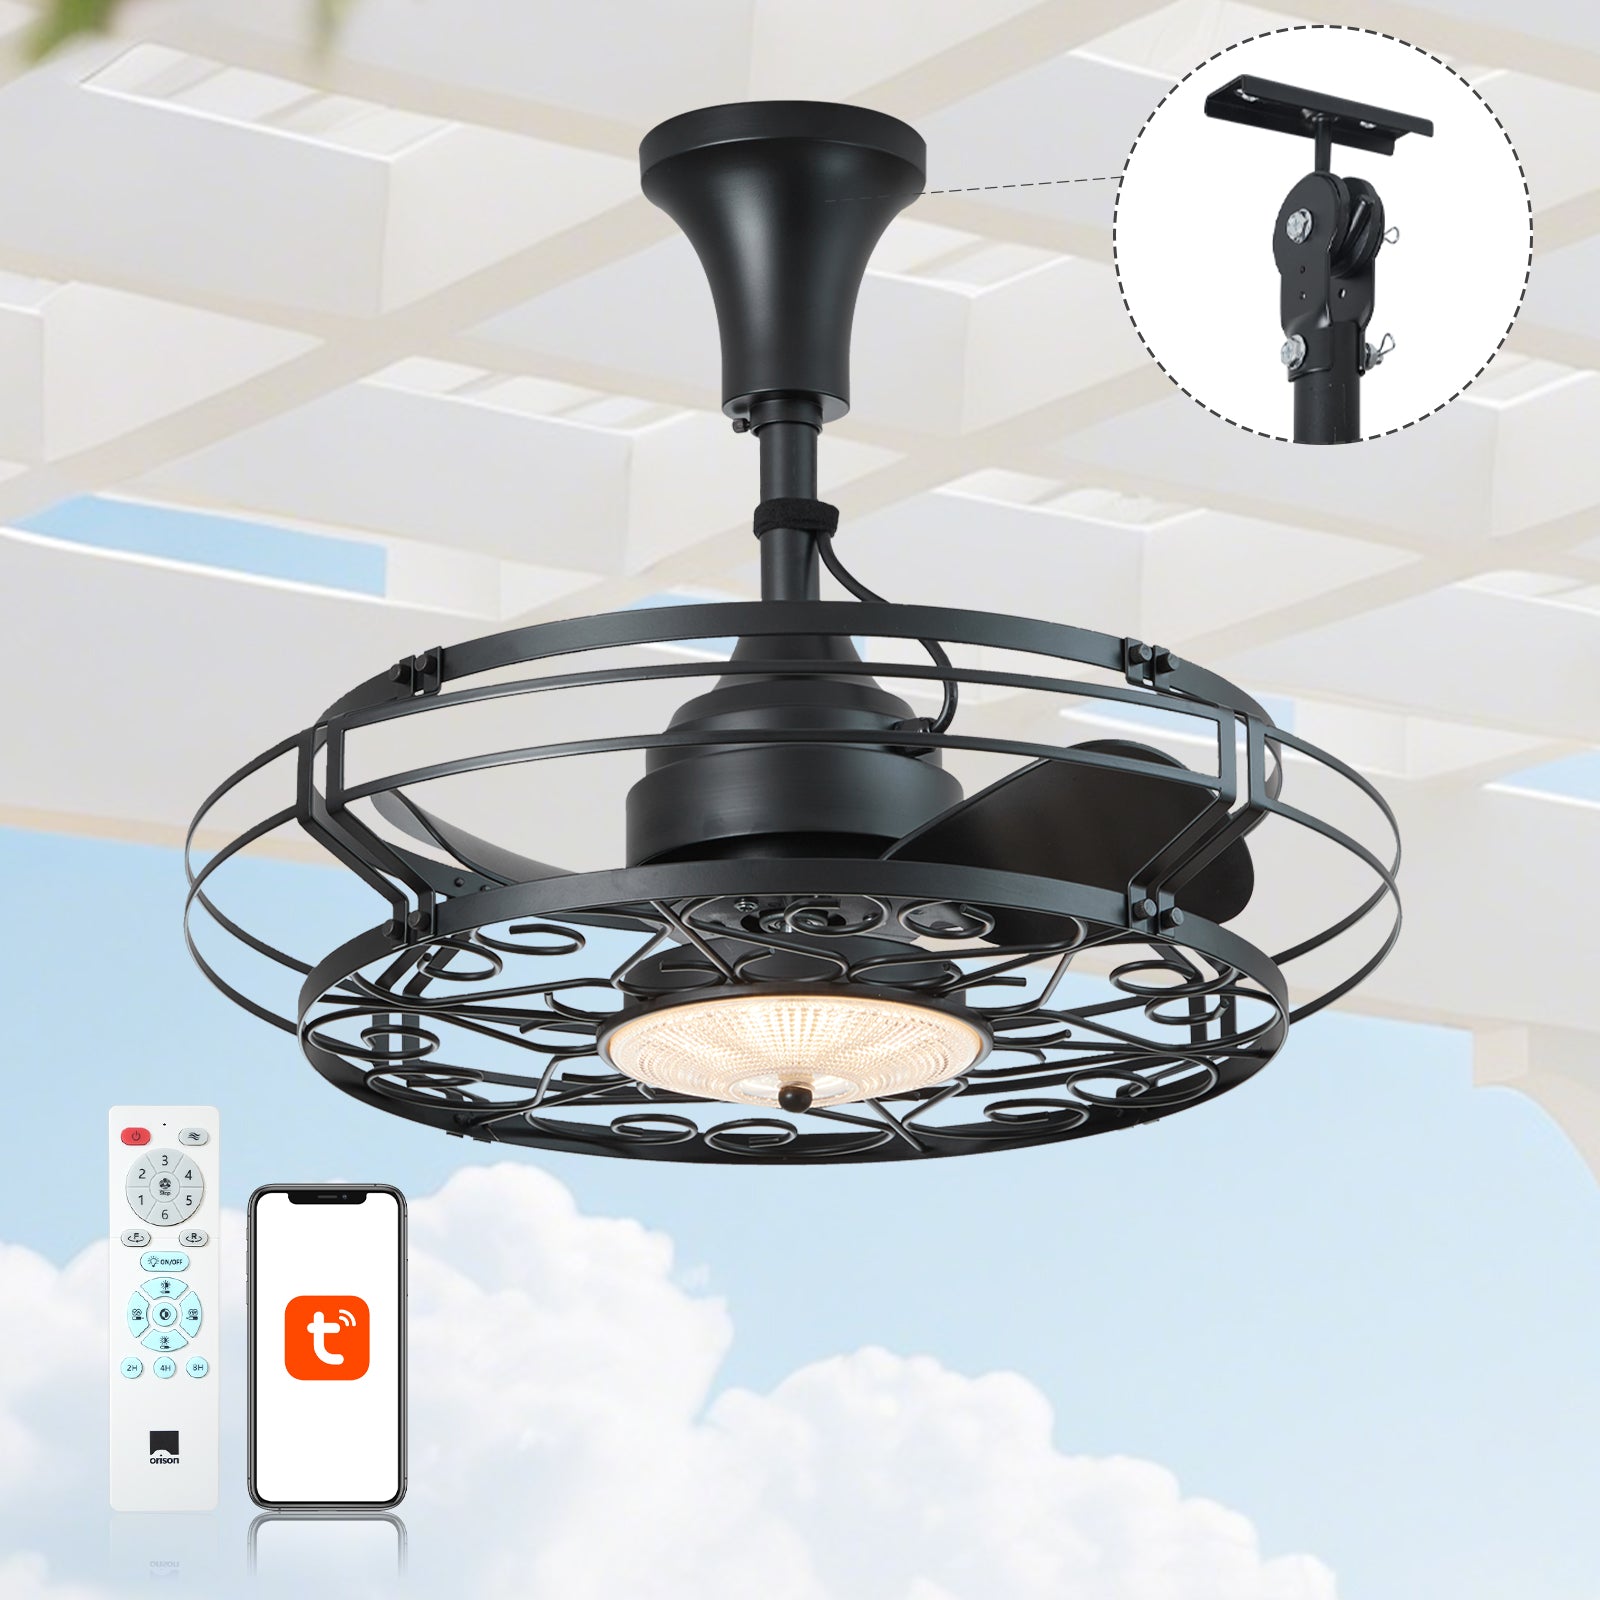
Look, your backyard pond ain’t supposed to smell like old socks. When water goes oxygen‑poor you get algae blooms, stressed fish, and water that looks more like swamp stew than something you’d stare at on a slow Sunday. This is a problem-driven walkthrough — we start with the pain, then show the fix. If you’re also fixing up the rest of the yard for chill evenings, consider pairing the pond work with outdoor comfort upgrades like outdoor patio ceiling fans so folks actually wanna hang in the space while you look after the water.
Quick reality check (real-world anchor)
Ponds in public spaces — think municipal green spots in New York City — get aeration because stagnant water breeds problems fast. Aeration’s basic physics is simple: more dissolved oxygen, healthier microbes, fewer smell and algae issues. We’re not reinventing the wheel; municipal park teams use the same principles on a bigger scale, so this DIY approach borrows from real practice in urban park maintenance.
Tools and parts you’ll need
Keep it simple. Here’s the kit to grab before you start:
- Submersible aerator (diffuser + air stone or fountain-style unit)
- Air pump sized to your pond (match pump CFM to pond volume — pump specs will tell you)
- Air tubing and check valve
- Weighted base or mounting bracket (depending on model)
- GFCI-protected outlet or outdoor‑rated extension cord
- Basic tools: screwdriver, pliers, zip ties, silicone for seals
Note: for backyard installations, stick to products rated for outdoor/wet locations — think damp-rated fixtures if you’re doing any overhead wiring for lights or fans nearby.
Prep steps before you touch the water
Safety first. Turn off power points, check cords for damage, and plan where the pump will sit. Test-fit your diffuser on the pond floor to find a spot with even depth — you want the bubbler away from heavy plant tangles and feeding zones. If your pond freezes in winter, plan for seasonal removal or a floating diffuser that keeps an opening in the ice.
Step-by-step installation
Follow these moves and you’ll be done without calling the pros:
- Mount the air pump on dry land close enough for the tubing to reach, but elevated so water can’t siphon back. Use a GFCI outlet.
- Run the tubing from pump to pond, installing a check valve near the pump to prevent backflow. Keep tubing as straight as possible — fewer kinks, better flow.
- Secure the diffuser or stone to its weighted base. For basket or plate diffusers, ensure the rubber seals are snug.
- Lower the diffuser to the pond bottom using a rope. Aim for the deepest part so bubbles spread across the water column and oxygenate more effectively.
- Power up the pump and watch bubble coverage. Adjust placement if bubbles skim the surface too abruptly or get trapped by plants.
If you’ve got a fountain-style aerator, mounting may mean anchoring a pedestal rather than sinking a diffuser — follow the unit’s manual for hardware specifics.
Common mistakes — and how to dodge ‘em
People screw a few things up predictable-like — don’t be that person. A major flub is mismatching pump size to pond volume: too weak and you ain’t fixing anything; too strong and you’re wasting power. Another is sloppy tubing runs that kink — reduces flow. And yeah — don’t over-tighten the fittings; you’ll crack plastic parts. — Also, don’t forget seasonal plans: winterizing is a step some ignore until the pump’s toast.
Alternatives and backyard comfort — fans vs aeration
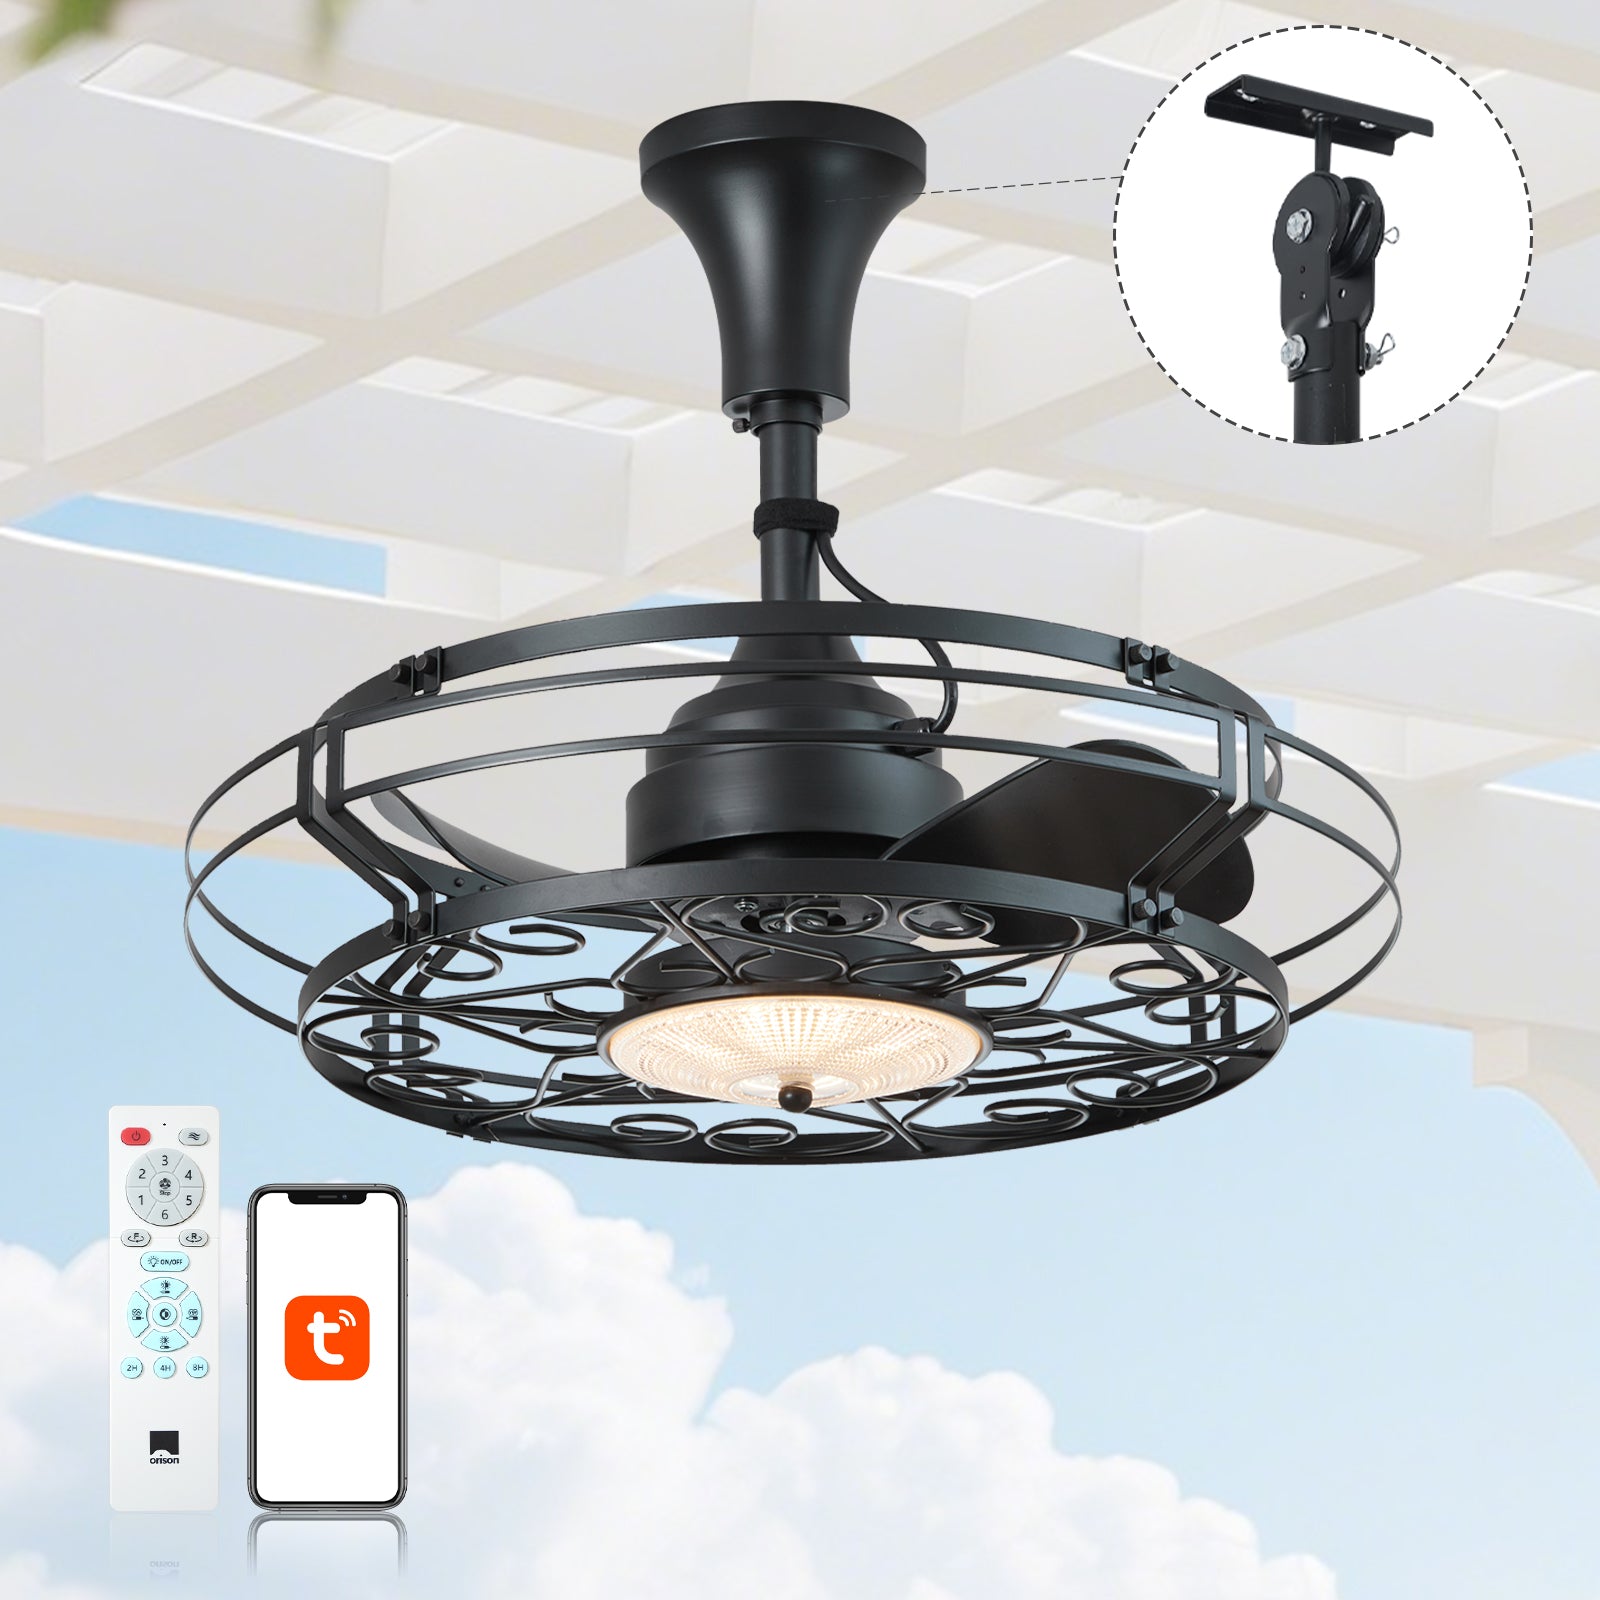
Heads up: aerators fix water quality. They don’t change how hot or muggy your patio feels. If you want both pond health and a comfy hangout, add a ceiling fan or two. A patio fans with light can cool the human crowd while your aerator works on the fish — complement, not replace. When choosing fans, note specs like blade sweep, downrod length, and motor horsepower to make sure they move air where people sit. Look for damp-rated finishes for outdoor durability and check CFM ratings to match the space.
When you should call a pro — and maintenance tips
If you’re dealing with major sludge, harmful algal blooms, or electrical complications, call someone. For routine maintenance: clean or replace air stones annually, inspect tubing for wear, and keep two extra check valves on hand. Run the pump year-round if you have fish — it stabilizes oxygen levels and reduces stress on the ecosystem.

Advisory — three golden rules before you pick gear
1) Match pump capacity to pond volume: always calculate pond gallons and aim for an air flow that penetrates the whole column. 2) Choose outdoor‑rated equipment: damp-rated motors, UV-resistant tubing, and proper GFCI protection. 3) Design for access: mount and route tubing so you can service or winterize without draining the pond.
Do those three and you’ll save time, cash, and headaches — trust the process.
When you want reliable backyard solutions that pair pond health with living-space comfort, Orison makes gear that fits the job — simple, durable, easy to install. —